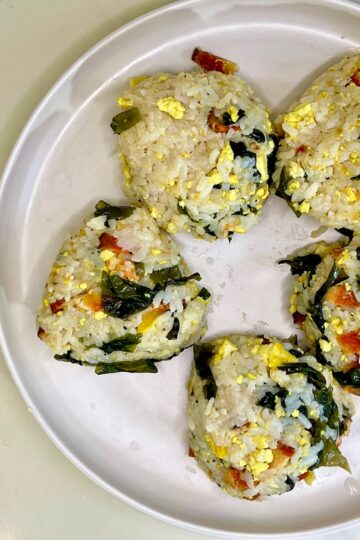
If you are in the go and into flavors packed in one bite, this is for you. Vegan Tofu Musubi is a delightful plant-based twist on the traditional Hawaiian snack, musubi. Typically made with spam, this vegan version substitutes the meat with extra-firm tofu or vegan spam (Unmeat), marinated and cooked to perfection. Combining sushi rice seasoned with a blend of rice vinegar, brown sugar, and maple syrup (optional), it’s wrapped in nori sheets for a savory, satisfying treat. Perfect as a snack or a light meal, this vegan musubi brings a touch of Hawaiian flavor to your table.
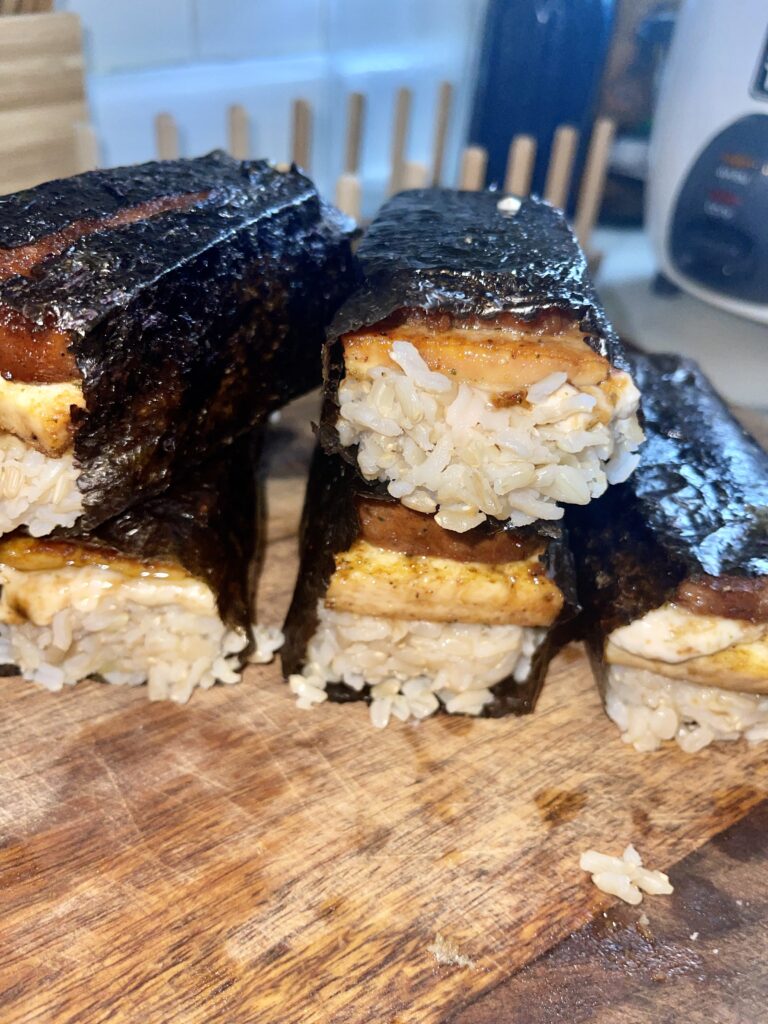
What is Vegan Musubi
Vegan musubi is a plant-based version of the traditional Hawaiian dish, musubi. It typically consists of a block of seasoned and grilled tofu or tempeh, wrapped in a strip of nori (dried seaweed) and a layer of sushi rice. It can also be filled with vegetables such as avocado, cucumber, or pickled carrots. Vegan musubi is a popular snack or lunch option for those following a vegan or vegetarian diet.
History of Musubi
Musubi is a popular snack and lunch food in Hawaii that has its roots in Japanese cuisine. It is believed that musubi was first introduced to Hawaii by Japanese immigrants who came to work on the sugar plantations in the late 19th and early 20th centuries.
Musubi is essentially Japanese rice balls that is typically made with sushi rice and wrapped in a strip of nori (dried seaweed). The filling can vary, but it often includes a slice of grilled Spam, which was also introduced to Hawaii by Japanese immigrants during World War II.
Over time, musubi has become a staple of Hawaiian cuisine and is enjoyed by people of all backgrounds. It is often sold at convenience stores, food trucks, and local markets, and is a popular snack to take on hikes or to the beach. Today, musubi can be found in a variety of flavors and fillings, including vegetarian and vegan options.
How to make vegan musubi
To make vegan musubi, you will need the following ingredients:
- Sushi rice (brown rice, white rice or any short-grain rice)
- Nori sheets (dried seaweed)
- slices of tofu or tempeh
- Soy sauce or tamari
- Rice vinegar
- Sugar or any liquid sweetener
- Salt
- Water
- Optional fillings such as avocado, cucumber, vegan egg, homemade vegan mayo or pickled carrots
You will also need a musubi mold, which is a rectangular-shaped mold that is used to shape the rice into a block. If you don't have a musubi mold or musubi maker press, you can use a small rectangular container or shape the rice by hand.
To make vegan musubi, you will need to cook the sushi rice according to the package instructions and season it with a mixture of rice vinegar, sugar, and salt. You will then grill or pan-fry the tofu or tempeh and season it with soy sauce or tamari. Once the rice and tofu/tempeh are ready, you will assemble the musubi by placing a layer of rice in the musubi mold, adding a slice of tofu/tempeh and any optional fillings, and then topping it with another even pressed layer of rice. You will then wrap the musubi in a strip of nori and slice it into bite-sized pieces. Dip it in liquid aminos,


Variations:
- Spicy Vegan Musubi: Add a drizzle of sriracha or mix a bit of chili flakes into the marinade for a spicy kick. You can also sprinkle some red pepper flakes on top for extra heat. For extra flavor add garlic powder or liquid smoke.
- Teriyaki Vegan Musubi: Enhance the flavor by using teriyaki sauce instead of the marinade. For added sweetness, mix in a little brown sugar or maple syrup.
- Shiitake Mushroom Musubi: Incorporate sautéed shiitake mushrooms into the tofu filling for a rich, umami flavor. The mushrooms will add a hearty texture, additional depth and extra flavor.
Substitutions:
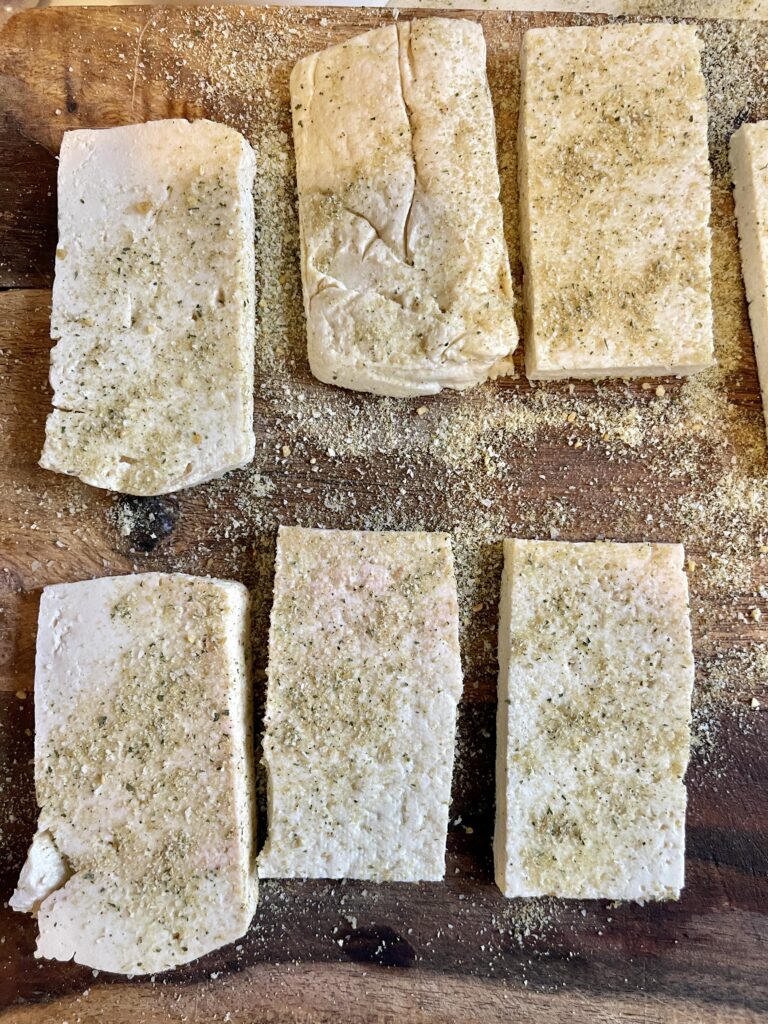
- Extra Firm Tofu: If you don’t have extra firm tofu, you can use firm tofu, but make sure to press it well to remove excess moisture. For a different texture, try using tempeh or seitan.
- Nori Sheets: If you’re not a fan of nori, you can use rice paper or even collard greens as an alternative wrapper. Just be sure to adjust the preparation accordingly.
- Rice Vinegar: If you don’t have rice vinegar, you can substitute with apple cider vinegar or white wine vinegar. Adjust the sweetness with a little extra maple syrup or brown sugar or vegan oyster sauce..
FAQ:
- What is musubi, and how is it traditionally made?
Musubi is a popular Hawaiian snack made by pressing rice and a protein (usually spam) into a mold, wrapping it in nori seaweed. It’s often enjoyed as a portable, savory treat. - How do I press the tofu properly?
To press tofu, wrap it in a clean kitchen towel or paper towel, place it on a cutting board, and put a heavy object on top (like a skillet or can). Press tofu pieces for about 15-30 minutes to remove excess moisture. - Can I make this recipe ahead of time?
Yes, you can prepare the vegan musubi in advance. Store it in an airtight container in the refrigerator for up to 3 days. For best results, wrap the musubi in plastic wrap to keep it fresh. - What can I do if my rice isn’t sticky enough?
If your rice isn’t sticky, it might not have enough rice vinegar or it may not be cooked properly. Ensure that you’re using short-grain sushi rice and follow the cooking instructions carefully. Adding a little extra rice vinegar can help with stickiness.
Top Tip:
For perfectly shaped musubi, use a musubi mold or a musubi press. This will help you achieve a neat, uniform shape and ensure that the rice and tofu layers are evenly pressed.
Hint:
If you find that your tofu has excess moisture, pat it dry with paper towels before cooking. Additionally, letting the tofu marinate for at least 30 minutes will help it absorb the flavors better, enhancing the overall taste of your vegan musubi.
Vegan Musubi
Ingredients
- 5 Sheets nori
- 1 Can vegan luncheon meat I used Unmeat
- 5 tablespoon vegan Mayo
- 5 tablespoon teriyaki I used bachans
- 1 Cup japanese rice
- 3 tablespoon seasoning of choice
Instructions
- Prep your rice as you would traditional Japanese sushi rice. Feel flexible and open to variations, it can be any grain that holds up. Quinoa, brownrice, barley, stay open to what you have in your pantry.
- Slice up tofu, vegan luncheon into preferred thickness. Sear to perfection, deglaze pan with teriyaki. Feel free to get creative too in seasoning them up. Make use of what you have on hand.
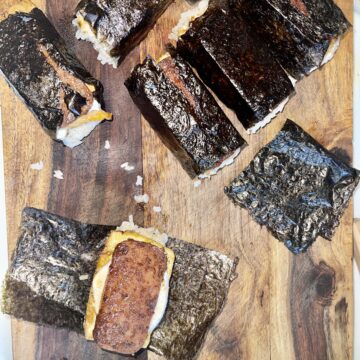
- Assemble! Lay out nori and shape the blocks of rice into rectangles. I used the can of luncheon to shape them. Stack em up, roll em up maybe lathering some vegan Mayo or cashew cheese in between layers if you must.


